
How to edit videos with AI: a workflow you can copy
Describe the cut once, review it in passes, revise with specific asks. Every step shown on a real edit you can open in the editor without an account.
AI changes the slowest part of video editing: getting from a folder of footage to a cut you can react to. It does not replace your judgment. It gives your judgment something concrete to work on within minutes instead of hours.
This guide walks through that workflow the way it actually happens in Narrative, using one edit all the way through: a 24-second snowboard competition edit, cut from broadcast footage, with a title and a music bed. It is public. You can open it on its real timeline, with no account, and check every claim below against it. The habits (one-sentence brief, review in passes, specific revisions) carry over to any AI editor that gives you an editable timeline rather than a flattened file.
What editing with AI actually means
Two different things get called AI video editing:
- An AI feature inside a normal editor. Remove silences, auto-caption, denoise. Useful, but you still assemble the video yourself.
- An AI editor. You describe the finished video; it reads the footage, picks the moments, and lays the cut on a timeline you can then change.
This guide is about the second kind. The hard part of a wedding film, interview, podcast or event recap is not the trimming. It is deciding what belongs, in what order, and for how long. That is what you are handing over for a first pass, and what you are reviewing afterward.
Before you upload anything: one sentence
Write one sentence that says what the finished video has to do. Audience, format, length, feeling.
A 20-second edit of the best runs from the snowboard comp. Big title at the start, music under it, cut on the beat.
“Make me a snowboarding edit” gives the editor something to aim at but gives you nothing to review against. The sentence above does both: when the cut comes back you can check length, title, music and rhythm against what you asked for.
The workflow, step by step
1. Describe it, add the footage, press Create
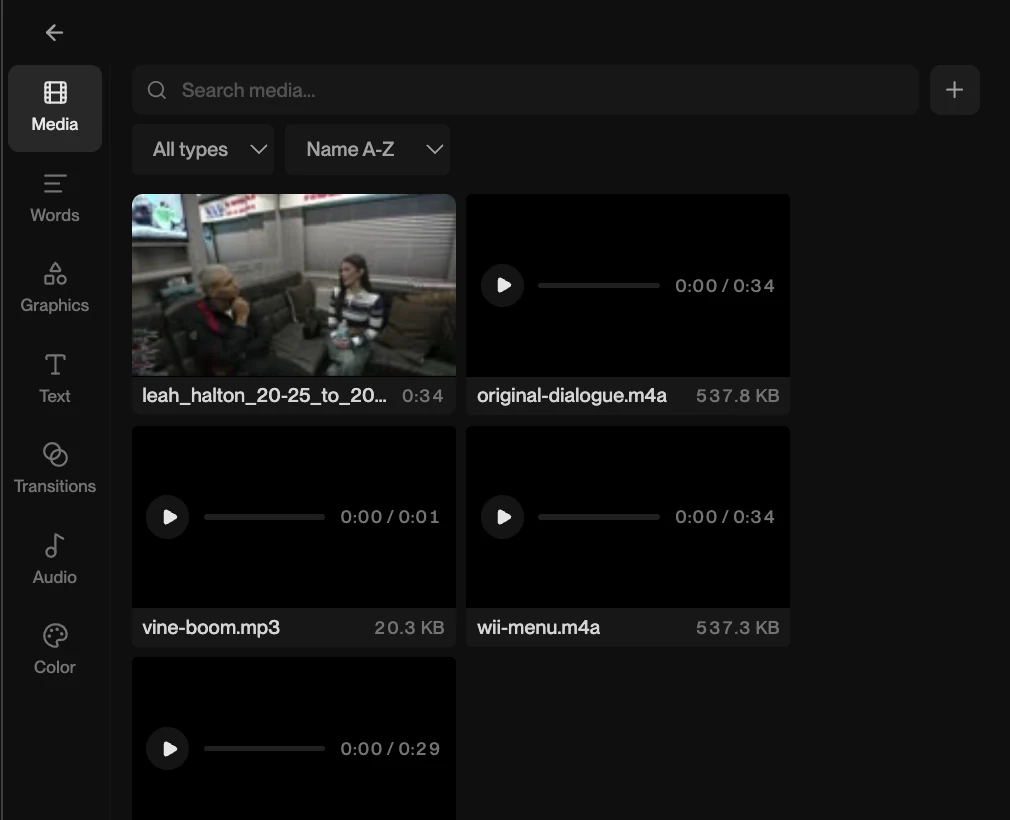
Narrative’s home page is a composer. Type what you want made, add your footage, and press Create; that is a project. You do not need to rename clips or build bins first.
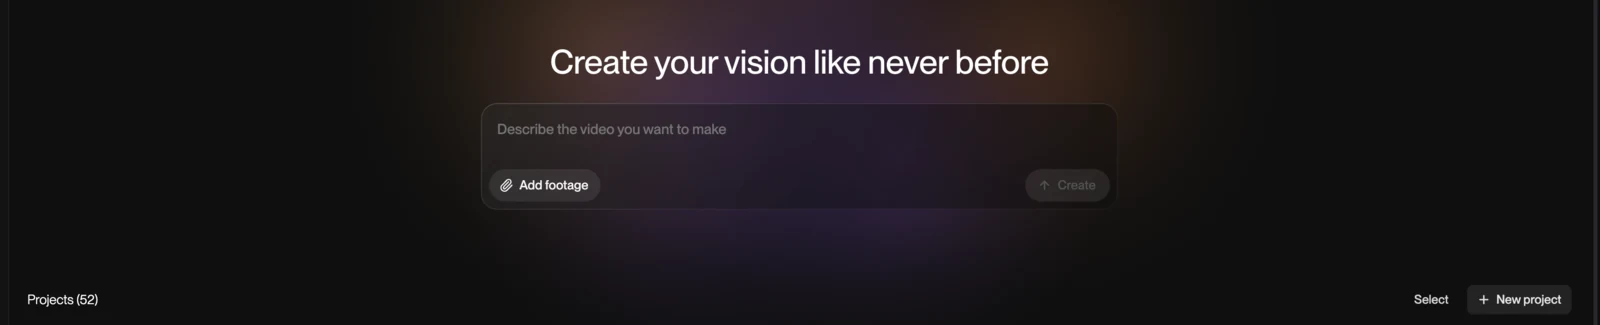
- Keep separately recorded audio in the same project. If you recorded a ceremony or interview on an external recorder, add that file next to the camera footage.
- Leave out files you already know are unusable. Everything you add is footage the editor may reach for.
- Keep your originals where they are. The cut is a set of decisions on a timeline, not a replacement for source files.
2. Describe the cut like a brief
A good editing prompt has four parts. Write them in plain language; the order does not matter.
- Deliverable: what and how long. “A 20-second edit.”
- Story: the shape. “The best runs, biggest trick last.”
- Constraints: what must be true. “Keep the scoreboard shot” or, for other footage, “use the recorder audio for the interview.”
- Style: how it should feel. “Big title at the start, music under it, cut on the beat, cold and contrasty.”
One prompt gets you a first cut. It does not get you the finished edit. The snowboard edit’s version counter reads v315: it was a conversation, not a command, and that is the honest shape of the work. It is also why most of this guide is about what you do after the first cut arrives.
Here is what one turn in that conversation looks like. This one is from a different project, the video on our own homepage, which we cut in Narrative. The ask was for a piece of motion graphics:
Have the blue bubble text “Narrative can help make them all” and then have all the videos appear in a rainbow shape overlapping with each other, each slightly off centre.
Before doing anything, the editor asked one question: Which videos should appear in the overlapping rainbow-shaped fan? It offered three answers: the edited examples, all uploaded videos, or name a specific selection. We picked the first. Then it did the work and listed what it had done: checked the animation principles guide, worked in its scratchpad, edited the timeline.
Two things to notice. When the brief left something open, it asked rather than guessed. And it stated what it did, so you know exactly what to go and review. The reply to the turn before it, visible at the top of the same screenshot, is the kind of precision you get: “Added four more questions, keeping ‘literally any video??’ at exactly 0:20.62, the same ending beat.”
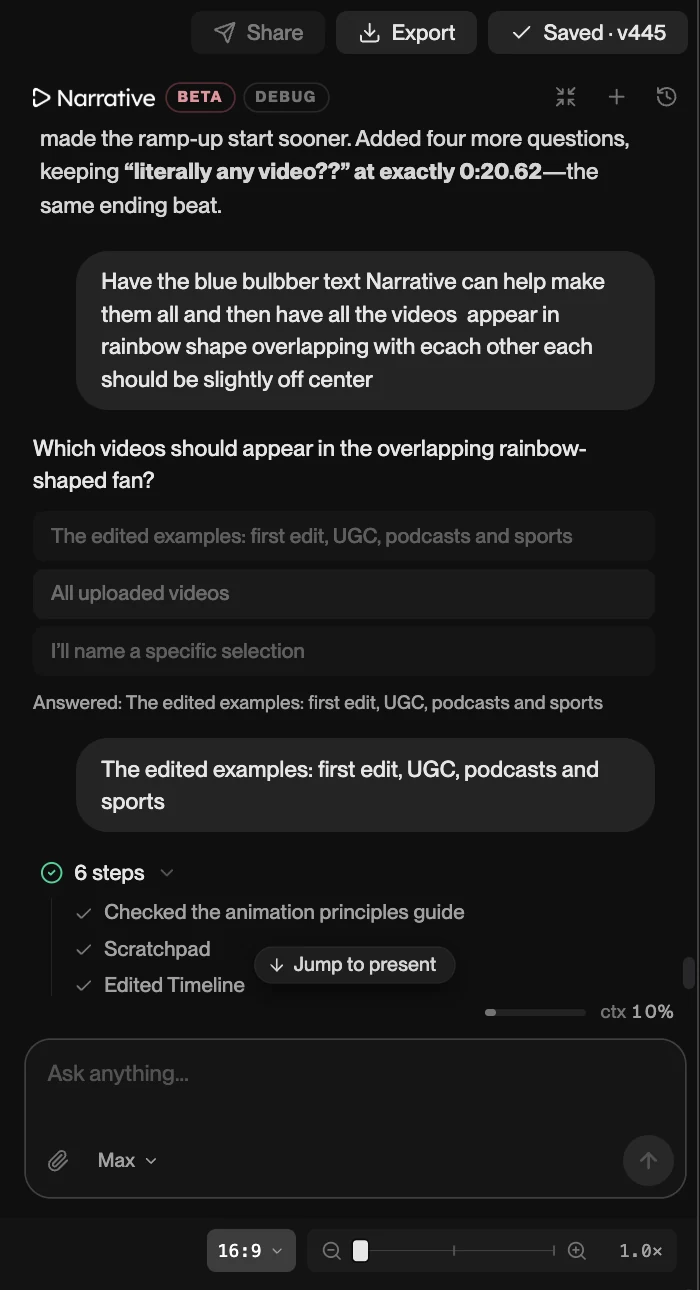
One setting worth knowing before you send: the model picker under the chat. Fast is for quick trims and cuts. Balanced is for most requests and builds captions, titles and motion well. Max is the default, for complex builds and tricky briefs, and is slower and costs twice as much. A first cut from an hour of footage is a Max job; “trim two seconds off the intro” is a Fast one.
If you have a reference video, say what you like about it. “Make it like this” is ambiguous. “Match its slow opening, fast reception montage and small titles” can be acted on.
3. Watch it once, all the way through
Do not touch anything on the first pass. Watch the whole cut at normal speed and note where your attention drifted, what you missed, and what you would not have chosen. That list is your revision list.
4. Review from big decisions to small ones
Do not fix the first ten seconds while the ending is still wrong. Go in this order:
- Story. Is there a beginning, a middle, an ending? Does the sentence you wrote in step 1 describe what you just watched?
- Selection. Are the strongest moments in? Is anything in that should not be?
- Pacing. Where does it drag, where does it rush?
- Continuity. Repeated shots, audio jumps, a speaker’s eyeline flipping.
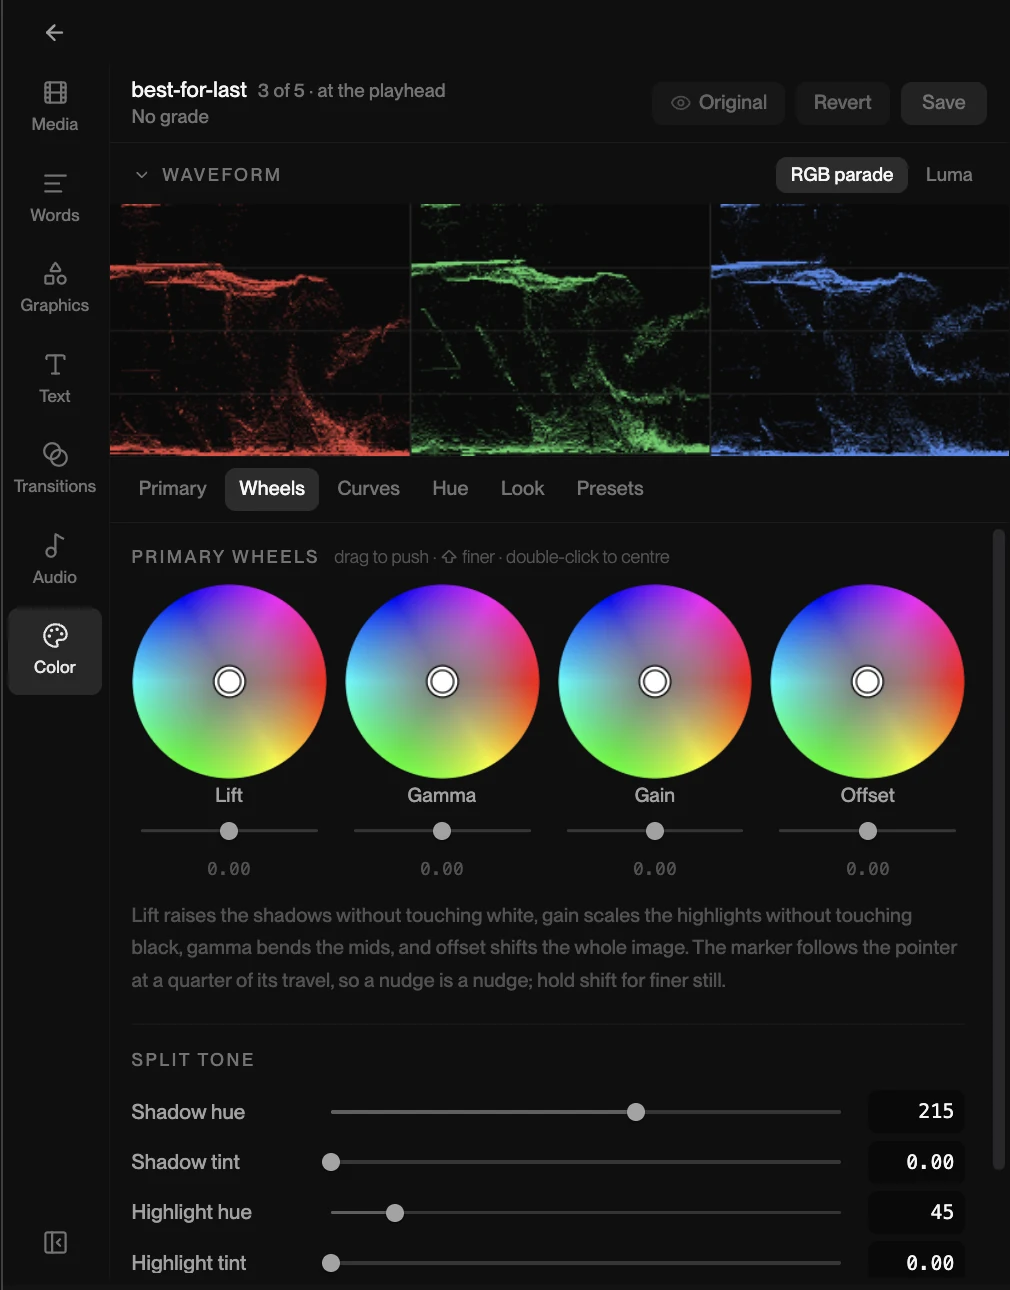
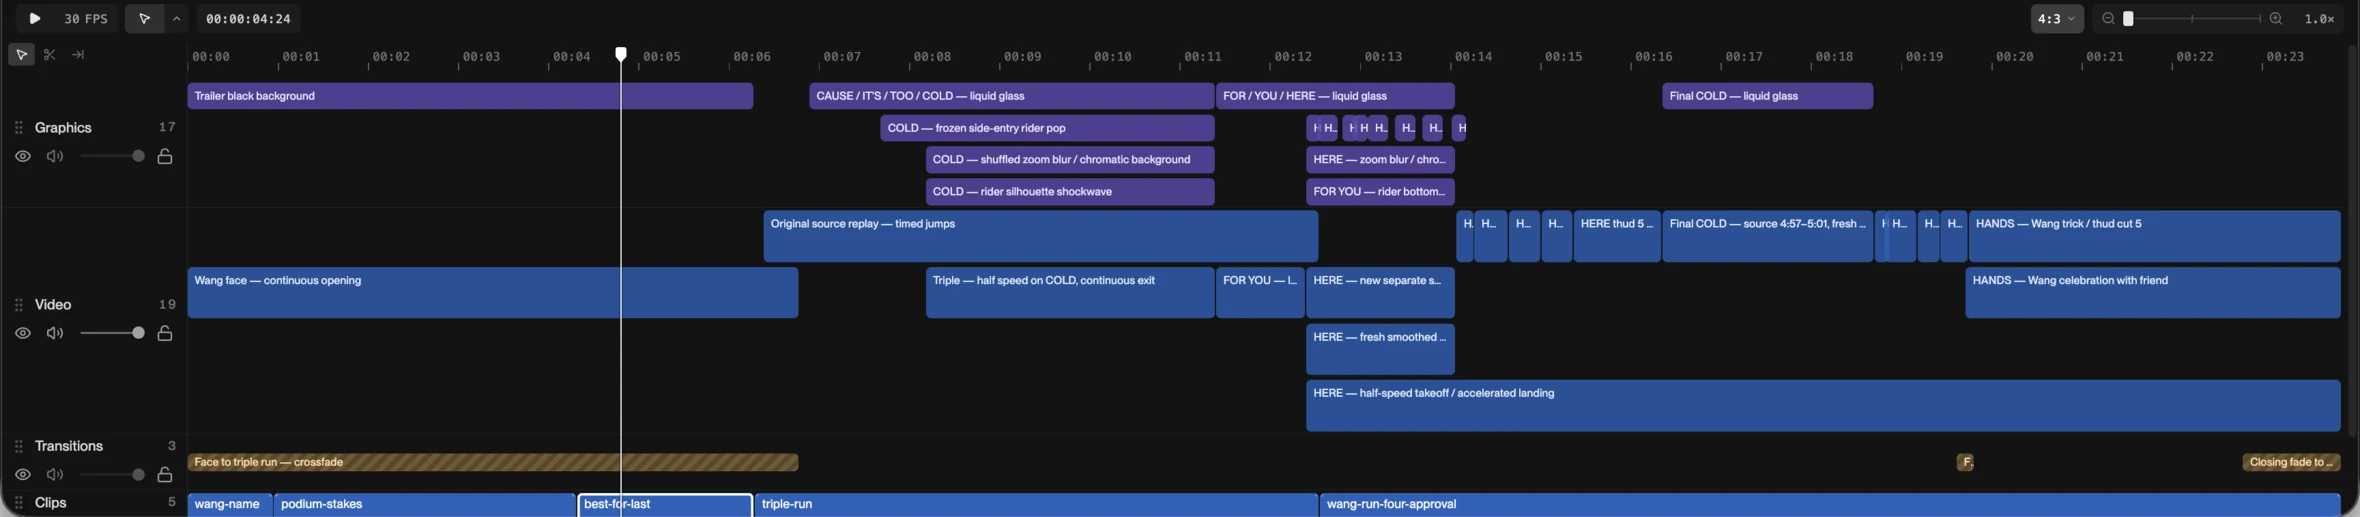
- Finish. Captions, titles, music, sound effects, colour. In Narrative this is still a request: “cut the montage on the downbeats,” “grade every clip,” “colder, more contrast, lift the shadows a touch.” The music is analysed for beats so the cuts land on them, sound effects sit on their own track (the creator clip below has a Vine boom on one), and there is a grading panel with colour wheels, curves, an RGB parade and LUTs if you would rather grade by hand. The snowboard edit’s titles are each their own block on the graphics track: the “COLD” cards, a zoom blur, a chromatic background. Ask for one to change and only that block moves.
Most first cuts need work at levels 2 and 3. Very few are wrong at level 1 if the brief was clear. If yours is, rewrite the brief rather than patching the cut.
5. Revise two ways
In Narrative you have two tools for changing a cut, and it helps to know which one to reach for.
Ask in chat, naming the moment. “Hold the title a second longer.” “Put the biggest trick last.” “Lose the second run, it’s the weakest.” “Use more crowd reactions during the toast.” Naming the moment and the change preserves everything that is already working. If every request is “redo the whole thing,” you cannot compare versions and you never converge. For talking-head and interview footage, asking for “the ums and pauses out, keep it under a minute” is one request; you do not trim them by hand.
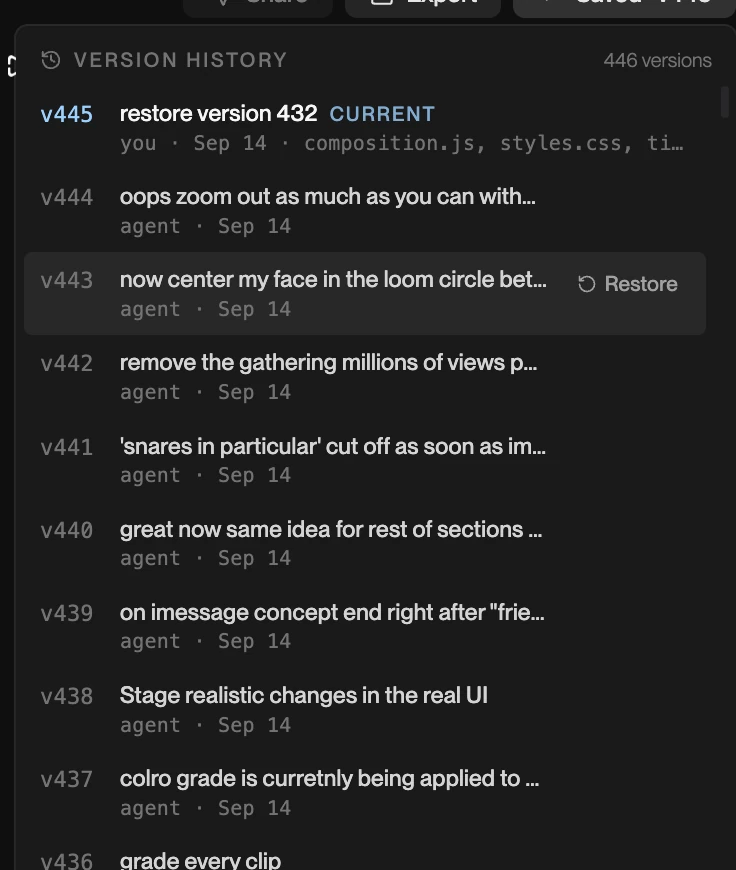
Restore a version. Every turn saves a version, and the version is named by the request that made it. Open the history on a real project and you are reading the edit’s own log: “grade every clip,” “now center my face in the loom circle,” “oops zoom out as much as you can.” Each is tagged with who made it, you or the agent. If a revision made things worse, step back to the one before it instead of asking for a fix to the fix. In the project below, the current version is “restore version 432”: thirteen turns tried, judged, and rolled back in one click.
6. Reframe for where it is going
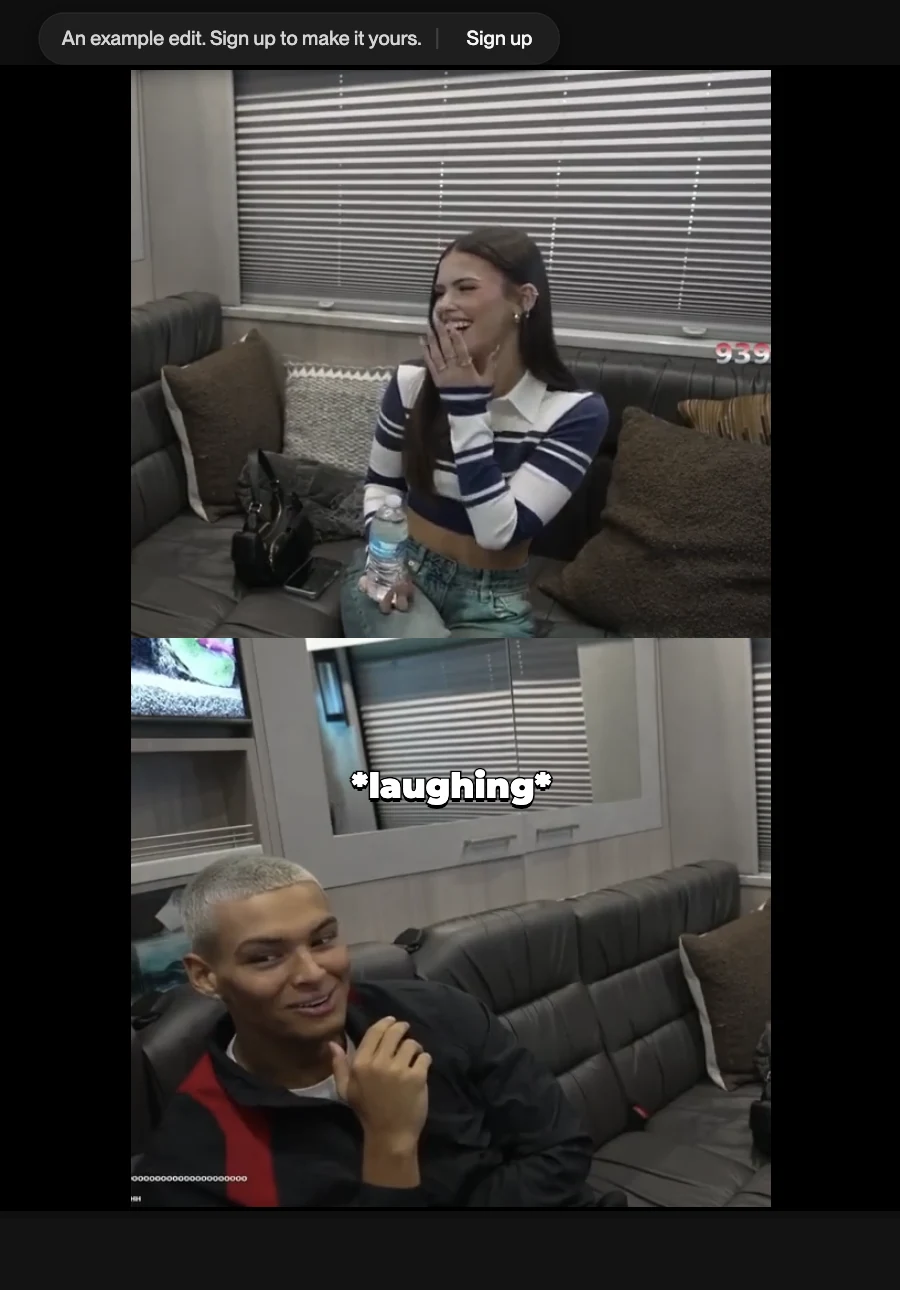
If the footage is 16:9 and the video is going to Reels, Shorts or TikTok, ask for 9:16. The reframe keeps the people in the shot: a two-person conversation comes out with both speakers stacked, not a centre crop that loses one of them. The creator clip is exactly that: two people on a couch, shot wide, delivered vertical with one above the other and the captions between them. (How to ask for that, in detail.)
7. Export, then watch it where it will be seen
Press Export and watch the finished file on the device your audience uses. Check spelling, caption timing, whether the music is licensed for where you are posting, and whether anything private ended up in the cut. Then post it.
This is the snowboard edit, exported:
See it on a real timeline
Every edit on the Narrative homepage is public as a project you can open. Nothing is hidden; you can scrub the timeline, open the version history, and ask for a change. A banner at the top says what the page is: an example edit, and a Sign up button if you want to make it yours. If you do change something, that is when you will be asked to create an account.
- The snowboard edit, 24 seconds, cut from competition footage with a title and a music bed. This is the edit this guide follows.
- A podcast clip, vertical and captioned, just over a minute, pulled from a 137-minute episode (how).
- A creator clip, vertical and captioned, under 30 seconds.
- A two-minute interview piece, with captions and lower-third name cards.
- A festival recap, 20 seconds.
Open the one closest to what you make. Then do the thing this guide is about: watch it once, then ask it for one specific change and see what happens to the timeline.
Start with this
If you want to run the whole workflow on your own footage, start a project, drop in a few clips, and paste this into the chat, changing the bracketed parts:
Make a [length] [vertical/landscape] [edit/highlight/recap] of [the footage]. [The one thing it has to include]. [Title / captions / music / cut on the beat, if you want them].
Or skip the upload and start from the snowboard edit: open it, watch it once, and ask for one change.
The first three prompts are free. The editor runs on desktop today.
The checklist
- One sentence about the finished video before you upload.
- Deliverable, story, constraints, style in the brief.
- Watch once without touching anything.
- Review story, then selection, then pacing, then finish.
- Revise by naming the moment, or restore the version before the change.
- Watch the export on the device it is for.
Used this way, AI does not flatten the edit. It moves the blank-timeline work out of the way so you spend your time on the decisions viewers actually feel.